10 Ways to Maximise your Flood & Drain
Want bigger, better, stronger crops with healthier roots and a more intense yield than ever before? Our expert guide on improving your flood and drain will maximise your system and minimise your issues!
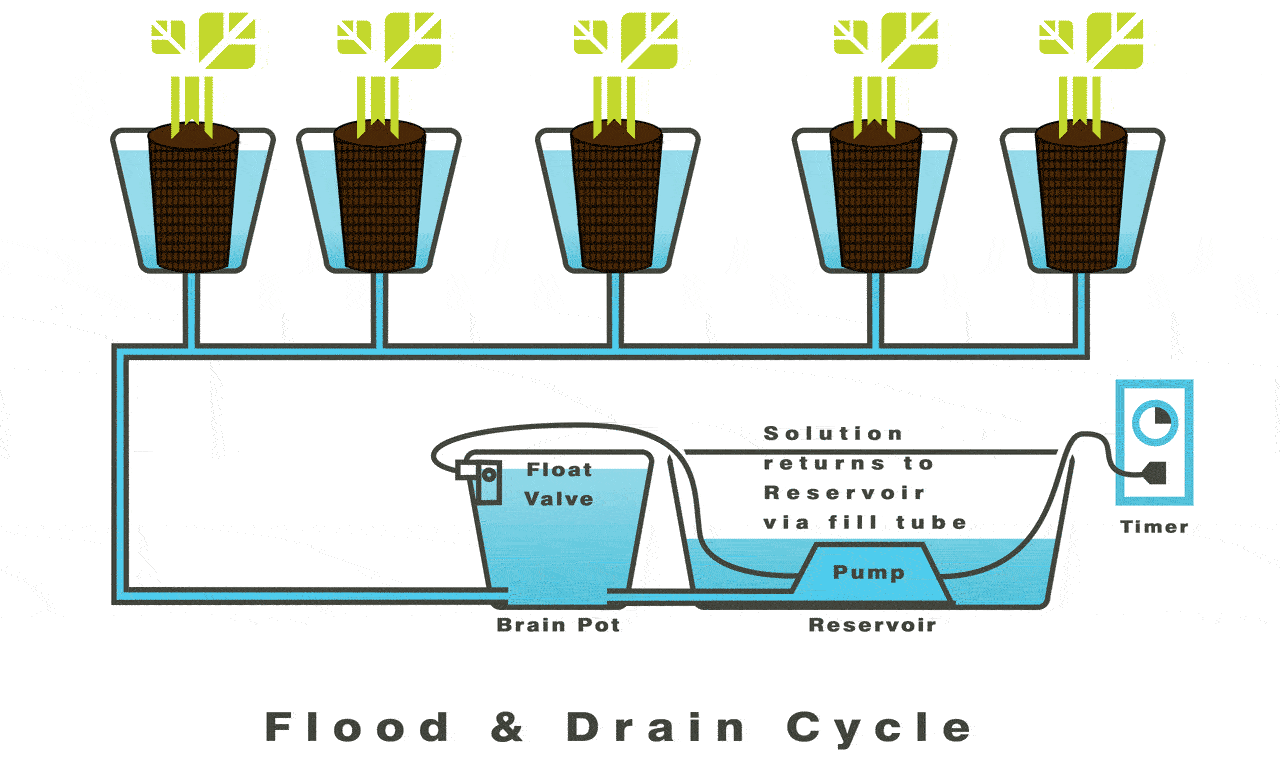
#1. Clean your system
It’s so basic but so many people forget that if a system isn’t kept clean, dirt and grime can build up and block pipework. We recommend regularly checking and cleaning your float switches in the brain pot, removing any sediment or debris that begins to build up in your reservoir and in addition, rinsing out your reservoir between refills. It’s also a good idea to use a sterilizing agent to fully clean the system, otherwise you could have future issues.
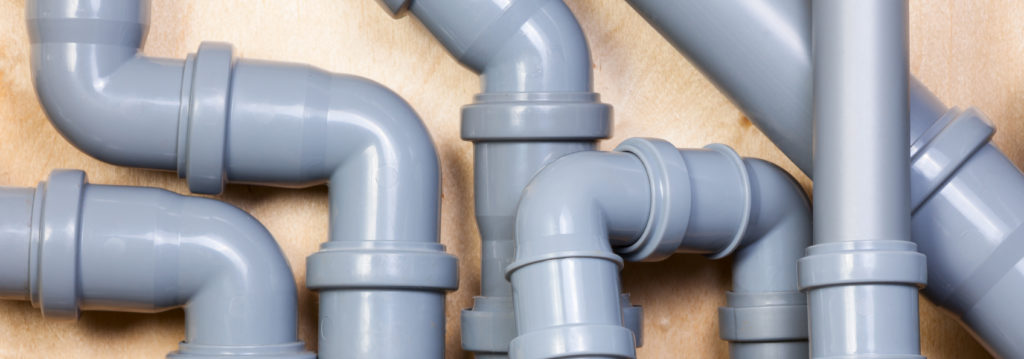
#2. Ensure your pipes are not blocked by your roots
One of the biggest issues that flood and drain users have is that roots end up blocking the feed pipe. This is because these systems both fill and empty through the same tubing. To ensure this doesn’t happen, our experts recommend rotating the inner pot by 45 degrees (about a quarter turn) in the same direction every couple of days. Have you’ve purchased an IWS Flood System? These come with copper root control discs that will prevent the roots from going wild in the water and we’ve found these are especially effective at preventing blockages from forming.
If you suspect you have a blockage caused by your roots, simply pour around 5-8 litres of nutrient solution in from the top of the container. Of course, if the solution drains quickly, you likely don’t have a blockage. However, if it sits and takes time to drain, you likely do have a blockage. It should be noted, however, that this test only works well with clay pebbles, perlite, growstones or other fast-draining media. With any other medium the water retention may cause it to drain slowly regardless of any blockage. If it turns out you do indeed have a blockage, simply remove the inner pot and check the tube for any roots or debris.
#3: Select your growing media correctly
Now depending on what you are growing, this varies a bit. Many people will tell you it comes down to personal preference. However, keep in mind that you need Low to Medium WHC (Water Holding Capacity) and High AFP (Air Filled Porosity) as key components to your media selection. Otherwise water retention will be too great to be effective in your system.
If you’re flooding more frequently, our experts suggest using clay pebbles. Simple and easy to use but tried and tested. And as an added side-effect, it’ll also absorb the nutrient mix. Allowing the grower to increase the frequency of watering. This in turn allows you to flood your system more frequently without worry of over-watering.
If you’re looking at flooding less often, we suggest you try mixing coco with your clay pebbles/perlite at roughly a 60/40 clay police/coco split. This is a common tactic but it works. The coco mix holds a lot more water which means you won’t have to flood your system nearly as often. The benefit of flooding less often is not having to rush when responding to critical failures in the system. Another benefit is that it’s ideal for growers who can’t tend to their plants on a daily basis.
Perlite acts similarly to clay balls, in that it’s a fast draining medium. It has less water retention than clay pebbles however so you’ll need an even higher watering frequency to compensate for this.
Growstones are another great alternative and are manufactured from 100% recycled glass. The great thing about them is that they resist compaction like clay pebbles and are incredibly porous in nature.
We don’t recommend using too much more coco than what we suggested above as it could cause your media to stay wet for too long. This defeats the purpose of flood and drain, as roots will become water logged. This in turn increases the chances of issues such as root rot taking hold.
As counter-intuitive as it may be, flood and drain systems are genuinely designed for frequent flooding as the nutrients are supplied freshly. When this nutrient solution drains, it draws fresh air into the root zone. This combines a rich nutrient supply with a solid supply of oxygen will ensure you have consistent quick growth and larger yields.
#4. Optimise your Flood Cycle Parameters
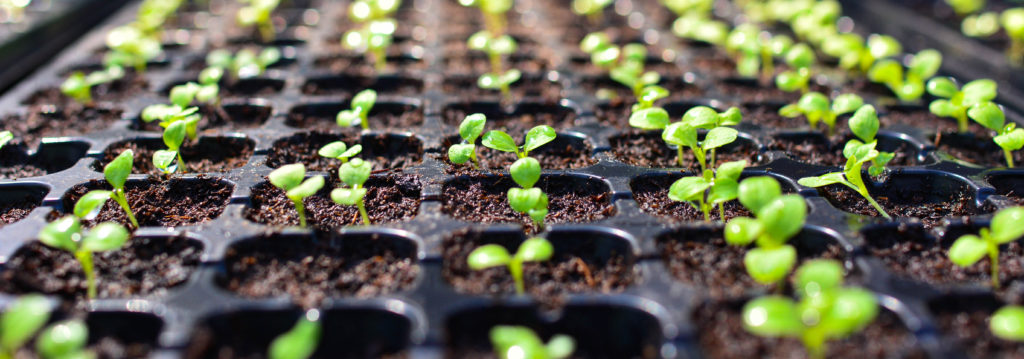
When we say ‘parameters’, we mean three in general. The first parameter is flood frequency, or how often your system is flooded. This will be effected the most by the size of the plant itself, the climate, the plant’s water requirements and the medium used to grow in. In the vast majority of cases, when you take your plants out of propagation you’ll find your crops suddenly are in a higher heat but lower humidity environment. This means their water requirements will increase. If your growing media lacks water retention, you’ll need to flood more frequently in order to maintain an adequate amount of nutrient solution within the substrate.
As a general rule of thumb, your flood height should never climb higher than the height of your growing media. We recommend this simple step sequence to ensure you get your flood height perfect:
- Only add your root control disk and washed clay pebbles following your system being set up.
- Fill three quarters of each pot with your selected media.
- If your plants are in the vegetative stage, fill your water tank with the nutrient mix at a concentration of 2 CF higher than during the propagation phase.
- Ensure your timer is set to the longest possible time, in minutes and wait for your brain to start filling the containers.
- If the water levels begin rising higher than the growing media then simply add more media.
- Press down on the media gently with your hand to ensure it isn’t floating up in the water.
- Soak for around 45 minutes, then drain the system.
Your flood cycle should never be held any longer than 10 minutes. Once draining has completed, set your flood duration up and ensure that the pH is perfect. If it is not then adjust your nutrient mix. Finally, start the flood cycle again to see how long it takes for the max flood height to be reached and if you’re using clay pebbles that have not been mixed with coco, add a couple extra minutes to the cycle.
This system of working our your flood height is especially effective because in cases where the flood is uneven, the flood height will be different for each container and this way allows you to accurately work out how much media is necessary for each.
#5. Transpiration before irrigation
Simply put, wait for your plants to start using any remaining water in the growing media before you flood them again. This translates to having your first irrigation around 30 minutes after the lights go on. This also means that in most cases, you should only have to flood during the lights on period. Never when the lights are off. But it should be noted that roots should never be bone dry. so you may need a single irrigation period when it’s lights off but still warm, but it should never be more than one.
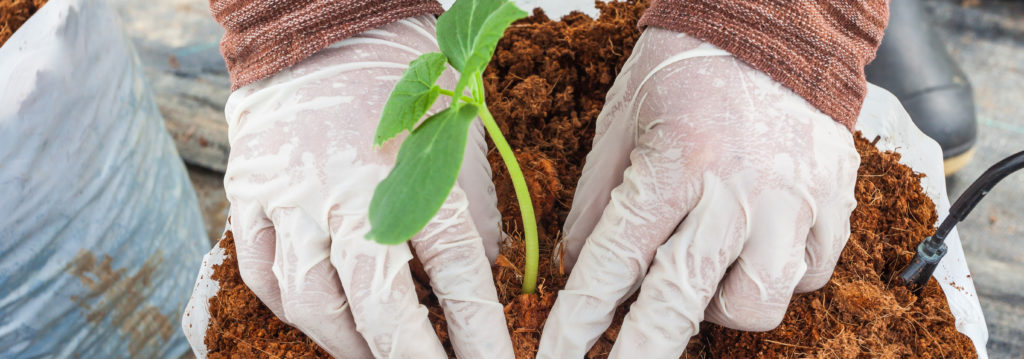
#6. Young plants should only be placed around 2.5cm into the medium
If you place young plants too deeply into the container you might find that your flood height will completely rise up over the transplant block and this can cause serious issues. But if you plant them shallowly to begin with, the nutrient solution should only reach the bottom of the transplant block once it reaches maximum height.
In addition to this, we recommend exposing the roots once you’ve positioned your plants by moving the plastic wrapped around the transplant blocks up the block by 2.5cm as well. It should be roughly in line with the top of your medium.
#7. Match your nutrient mix’s strength to your climate
Like humans, plants drink more water when it’s hot. In hotter, drier climates, like during the summer when your room will likely run at around the 28 degree centigrade mark with an RH of 45%, your plants will use more water and intake less of the nutrient mix. During this period, the nutrient strength should be dropped significantly. Your plants will need flooding more often, usually around every hour. We suggest using a CF Truncheon by Bluelab to ensure your nutrient strength readings are accurate.
#8. Have a Clay Pebble layer of around an inch at the bottom of your container
Really simple tip, but the bottom of the container is where the majority of your water will stay. Thus it makes sense to have this thin layer which’ll allow for it to drain away more easily. We recommend this even if you’re already mixing clay pebbles with coco as this bottom layer makes all the difference.
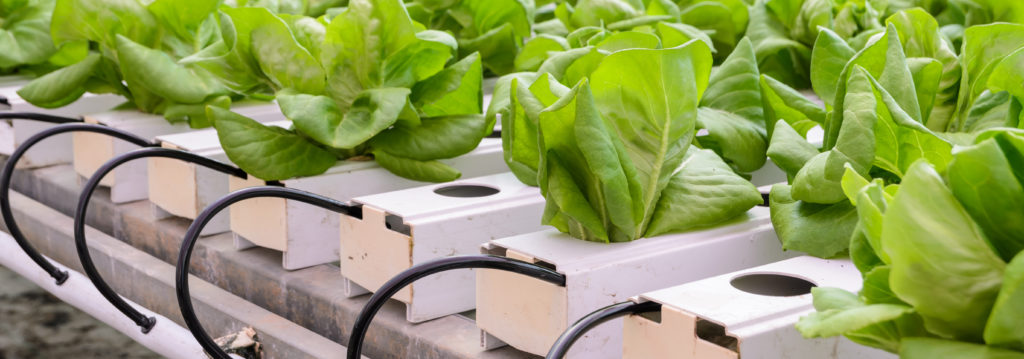
#9. Select your containers wisely
This differs based on what media you’re using to grow your plants. Larger systems of 36 pots plus will require punch pots to be used. Smaller systems, conversely, will need aqua pots which are net pots that have been optimised for flooding and root development. Of course this is all assuming you’re using just clay pebbles.
If you’re using 70/30 or 60/40 coco mix with perlite or clay pebbles however, we recommend using culture pots. These have a net base designed specifically for growing in finer media. We recommend also placing root pouches inside of each of the inner pots to prevent roots from extending out into the pipework.
#10. Upgrade to an IWS Pro System
Basic systems are great. That is, great until you hit a certain critical mass. Then it becomes “Go big or go home”. The IWS Pro system is ideal if you’re growing more than 12 plants. First, you get a larger pump and 25mm pipes which allows pots to be refilled at a much higher speed. Second, the larger pipes also ensure that there’s a lowered risk of blockages caused by roots. This will ensure you’ll get a much more even growth all around.


