A Plant’s Lifecycle
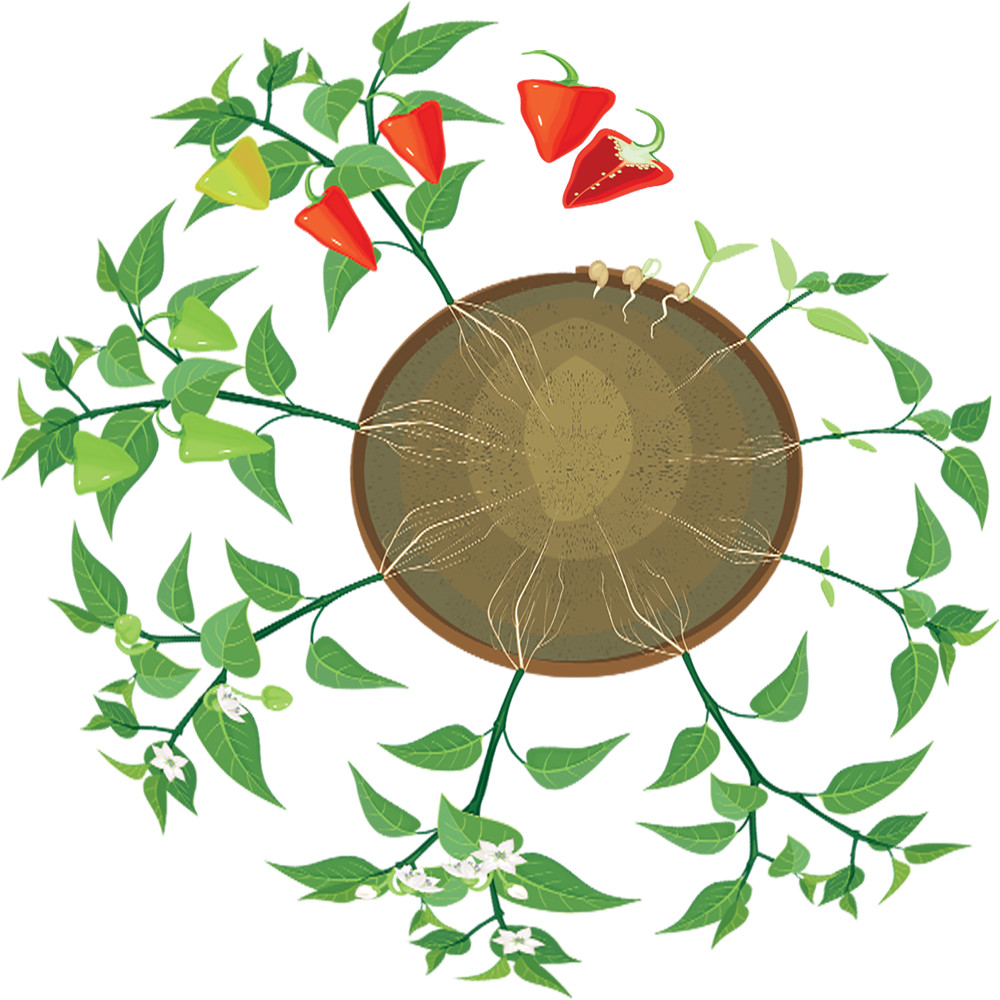
Recognising and understanding the different stages of a plant’s lifecycle, will mean you grow better plants. You will be able to give your plants exactly what they need, when they need it. As a result, you’ll achieve larger, better quality yields. The more you understand your plants, the better equipped you’ll be to achieve the best of the plant’s potential.
The 3 main stages of plant growth these are:
- Propagation – this is the start where new and young plants establish themselves.
- Vegetative (Veg) – this is the overall growing and strengthening of the plant’s mass in preparation for flowering.
- Flower (Bloom) – this stage is when overall plant growth slows and the plants produce their flowers and fruits.
To make this as simple as possible, we’ll break down each stage.
Propagation
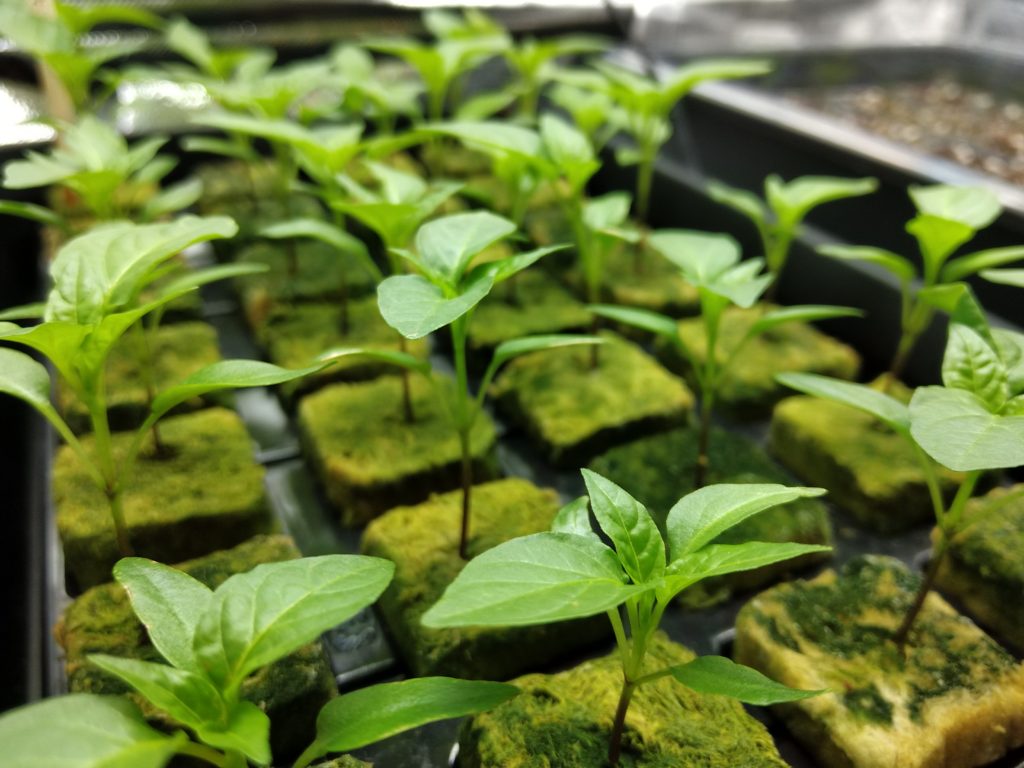
Strictly speaking, a plant’s lifecycle begins with the germination of a seed. While many people grow from seed, others start their plants from a cutting, taken from a mature, mother plant. Copying the genetics of a known good plant is a great idea. Cuttings are quicker to grow, once rooted.
How do I take cuttings?
Here’s another blog on taking cuttings. The process is straight forward:
- Take the cutting
- Root it
- Repot it
- Grow it on to full bloom.
Both seed and cutting methods have pros and cons. It’s advisable to research each method before you begin.
Propagation Overview
During propagation, your cuttings, or seedlings should spend 1-2 weeks (some plants may take longer) in a propagator. This essentially is a mini greenhouse with a clear plastic lid that lets in light whilst retaining heat and moisture.
For the duration of propagation, your lights should be on/over the plant’s constantly, 24 hours a day. To get the most out of your plants in this stage, you should ideally use a propagation light.
The perfect temperature range for propagation is 22C-27C (depending on your plant). Aim for a humidity of between 70-90%. To keep your levels ideal, you may need to raise or lower the light. You may also need to regularly mist cuttings with water or open and close the ventilation ports on the propagator.
Garden tip: Remember that cuttings don’t have roots and take in water through the leaves and stems. At this point, the propagator needs to be kept at a high humidity at all times. You can lower this once the roots start to grow.
Vegetative
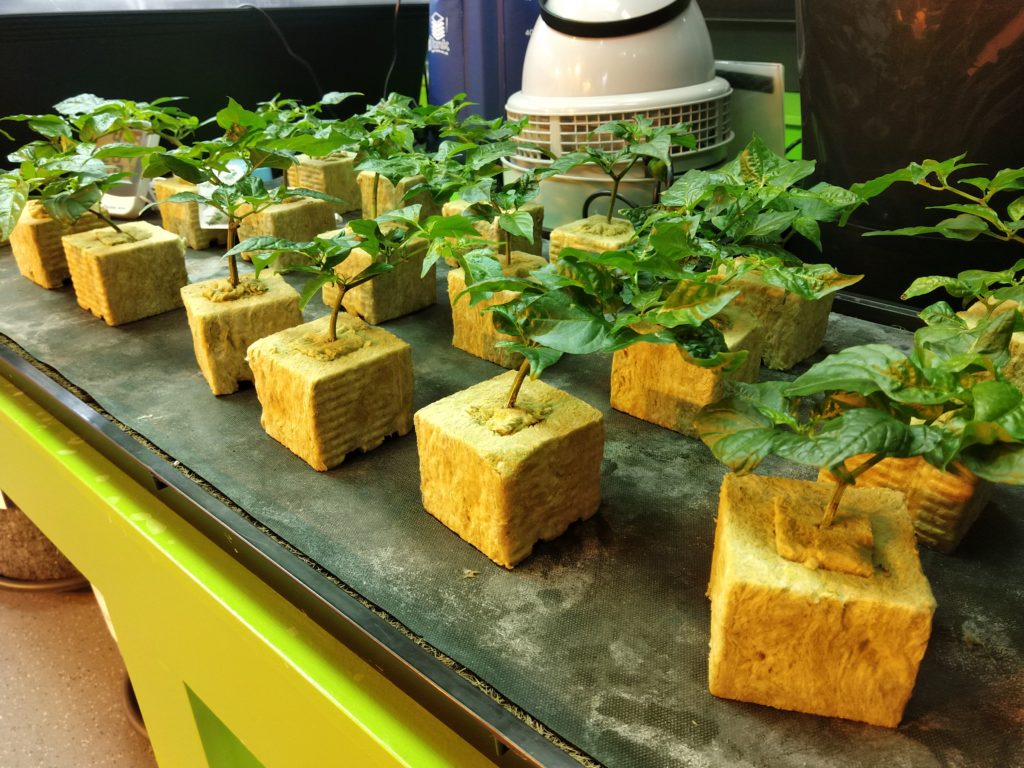
In the vegetative stage, your plants grow quickly, in preparation to produce the best fruits possible. The vegetative stage’s aim is to grow the whole structure of the plant as big and strong as possible. This applies above the media and below it. It’s critical to give your plant the best opportunity to develop its root network. You want strong, efficient roots at this stage. There’s an old saying…”bigger the roots, bigger the fruits”. And it’s well worth remembering!
If you want to get the best out of your plants, use a specialist grow light for your plant’s lifecycle.
During the vegetative stage, set the light cycle to 18 hours on, 6 hours off. Keep the temperature at the plants canopy in the ideal range of between 21-28C with the lights on. When lights are off the temperature should dip by no more than 10C. During the vegetative stage, ideally, maintain a humidity level ideally above 60%.
How long you keep your plants in “veg” is completely up to you. It all depends on what you’re growing, and what you want out of those plants. In an indoor growing environment, most growers will “veg” for between 2-4 weeks. However, plants can be kept in Veg much longer if needed.
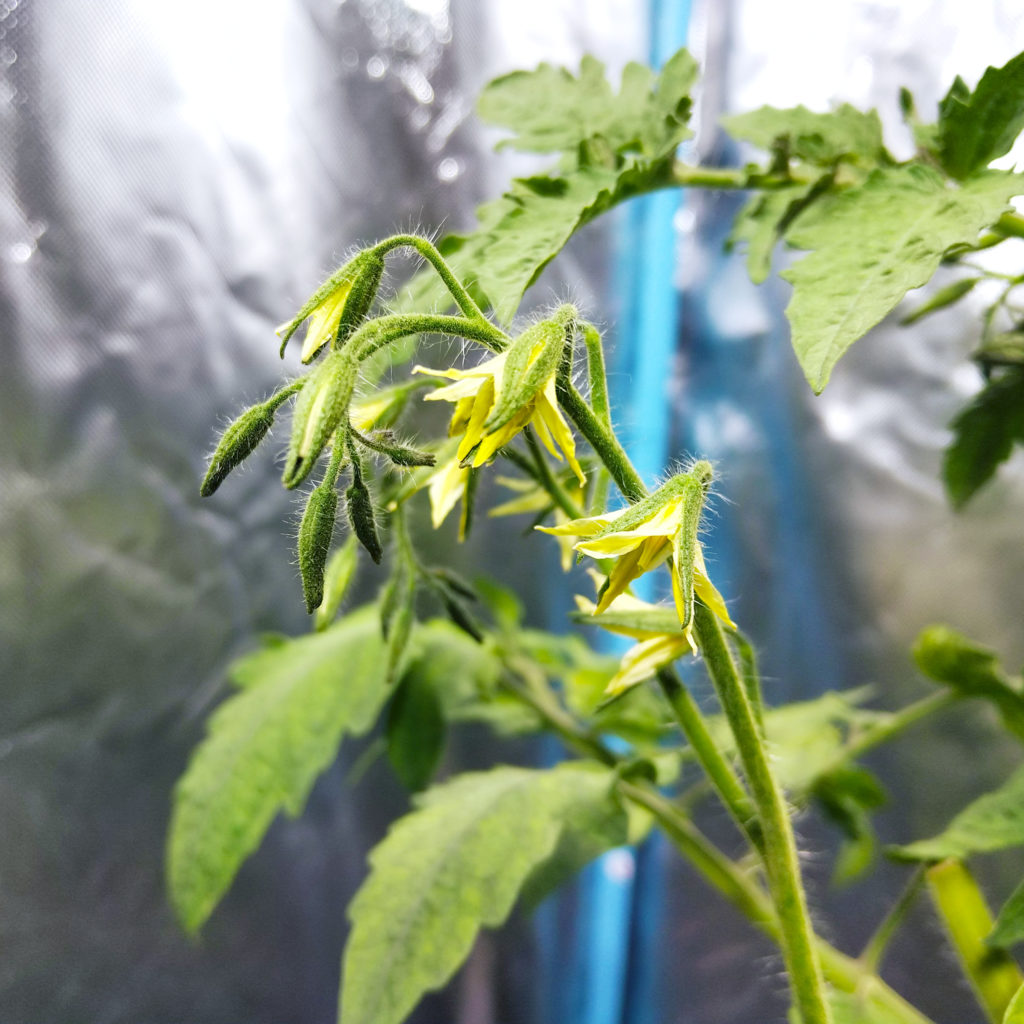
Flower
The length of the Flowering phase depends on what and where you’re growing. For example, a common indoor flowering period is 8 weeks.
The Flowering stage is better understood when broken down into 2 sub-periods:
- Pre-flowering
- Flowering
When moving into this new stage, if you are growing indoors you will need to change your light times once again. The light cycle should now be set to 12 hours on, 12 hours off. This will ensure that you get the most out of your plants. The plant’s canopy temperature, with lights on, should ideally be between 21-28C. When lights are off it shouldn’t be allowed to dip by more than 10C. The humidity level during the flower stage should ideally be below 40%.
Pre-flowering
This phase is the period between the last week of the veg phase until the end of week 4 of flowering. Basically, the mid-point in the total flowering time. In the first 2 weeks of flower, your plant will make the transition from simply growing in size to concentrating its energies towards flower and fruit production.
This first couple of weeks of flowering is a time of rapid growth, sometimes referred to as “the stretch”. In this first half of the flowering stage plants can quadruple in size. As the plants near the end of this phase the overall growth will slow down as flower/ fruiting sites begin to appear, marking the end of the pre-flowering period.
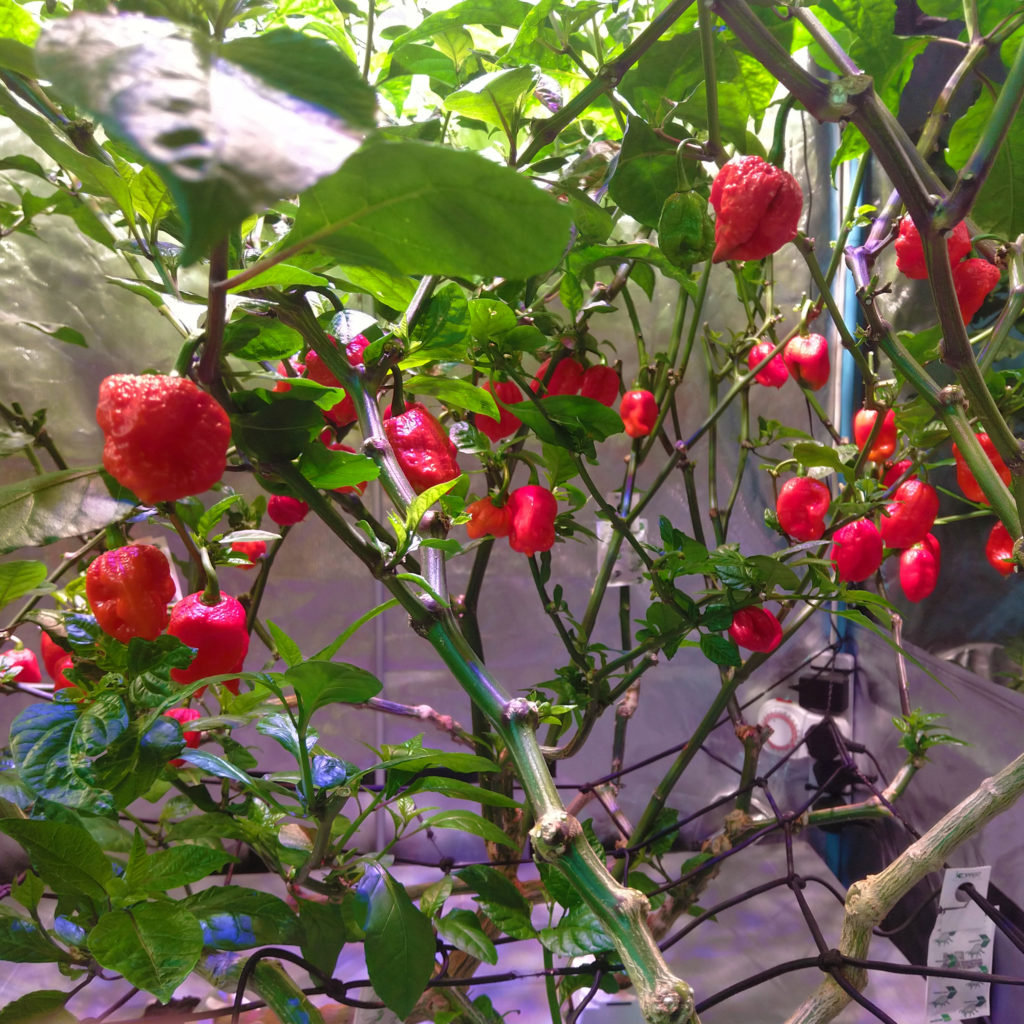
Flowering
This is when the plant concentrates all its energies on producing more flowering sites. From here on in it’s all about getting the biggest tastiest most attractive flowers and fruit. If this stage is executed well, fruiting branches can become laden. They may need to be supported to prevent snapping and/or damaging the rest of the plant.
So there you have a brief overview of the phases of a plant’s growth and bloom. When growing in an indoor environment, the length of the plant’s natural lifecycle can be reduced massively.
Specialist fertilisers allow the length of the grow to be compacted into about 12 weeks. They can also lead to much larger yields.


